|
|
Demonstration
Select the type of your DVR system:
Seeye DVR: Remote Access to Seeye DVR
There are two options to begin the demonstration:
› DVR Client Software OR
› Internet Explorer
Server Information:
ONLINE
IP Address: bluecctv.dyndns.info
username: demo
For password, please call us to (818) 988-9542.
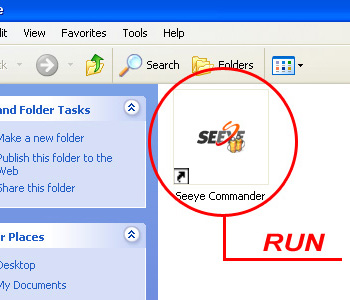
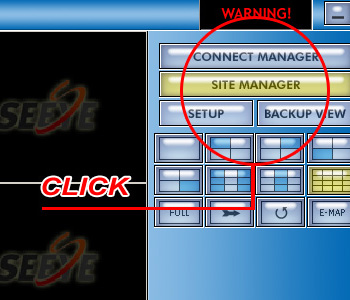
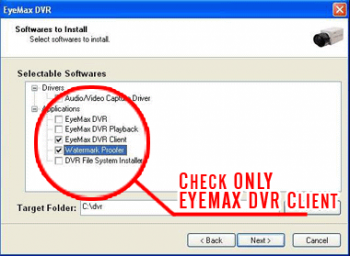
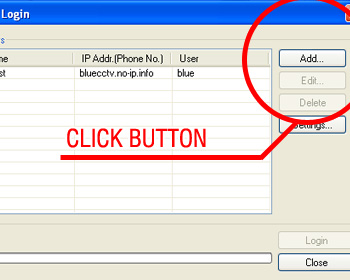
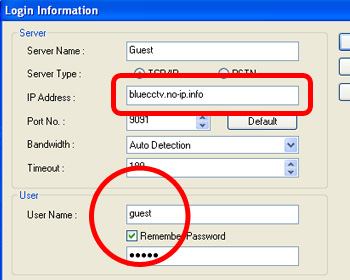
1st OPTION: Remote Access via DVR Client Software
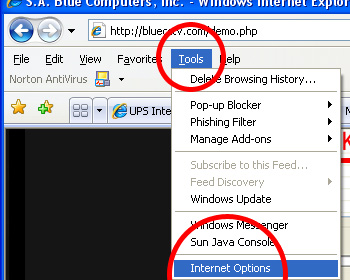
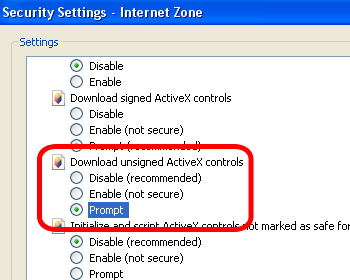
2nd OPTION: Remote Access via Internet Explorer
Eyemax DVR: Remote Access to Eyemax DVR
There are two options to begin the demonstration:
› DVR Client Software OR
› Internet Explorer
Server Information:
ONLINE
IP Address: bluecctv.dyndns.info
username: blue
For password, please call us to (818) 988-9542.
1st OPTION: Remote Access via DVR Client Software
2nd OPTION: Remote Access via Internet Explorer
|